We’re probably all aware of at least some of the benefits of wearing fake tan, but anyone who’s tried it before will know it’s not always so easy to apply. During your first applications in particular, complications are inevitable. If you want to remove your fake tan from under your nails, read on to find some solutions!
Method #1: Warm, soapy water

For this first method, you’ll simply need regular household items which are probably already in your bathroom, along with a cuticle clipper. The method is very simple and it’s a great solution if your hands are sensitive or you suffer from dry skin, as it’s not too harsh or damaging.
All you need to do is fill a sink or basin with some warm water, allowing enough to fully cover your fingertips when you put your hands in. Add some liquid soap or dishwashing liquid of your choice to this and mix it in to create a soapy solution.
Dip your hands into the basin for a few minutes, gently rubbing at them with your fingers to help loosen the product. Then, use some cuticle clippers to trim at the dead skin around your nails which is still coated so there are no remains of fake tan around your nails in sight.
Method #2: An old toothbrush or nail brush

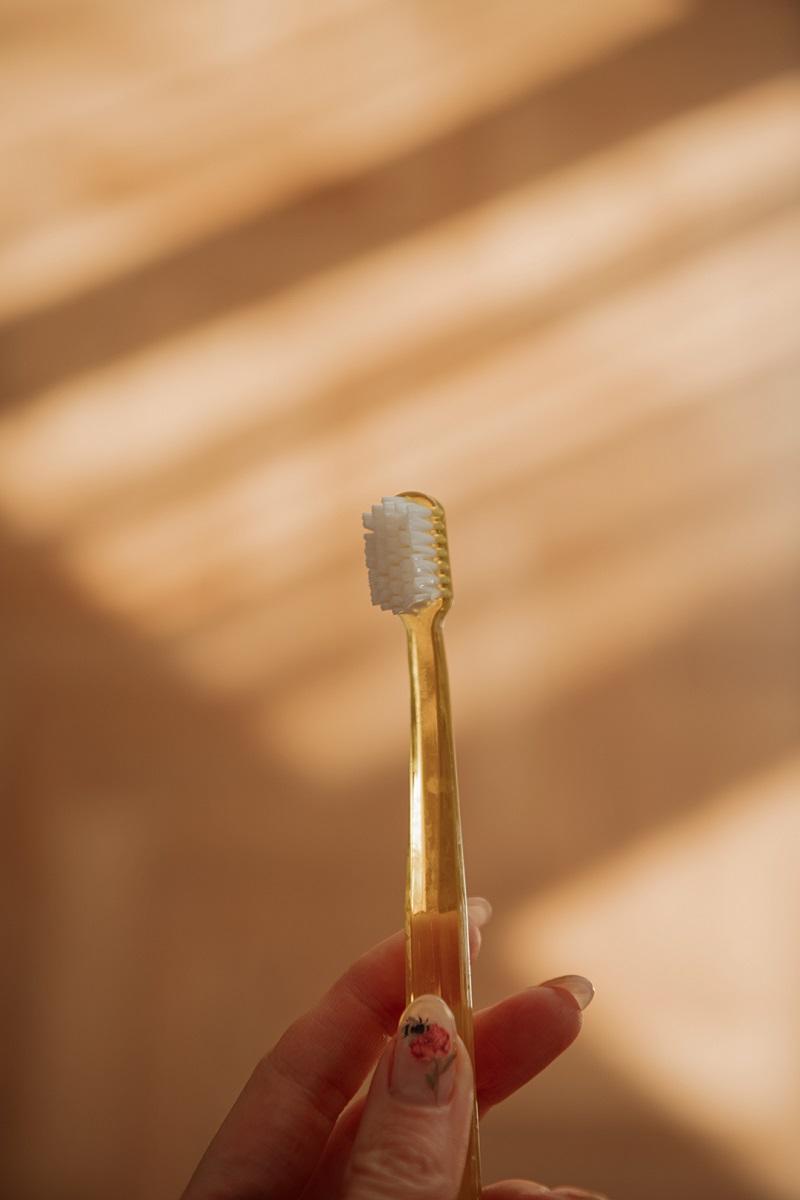
For a solution that utilises the act of physical exfoliation, his method is the ticket, and all you’ll need is some water and a toothbrush or nail brush. This solution is a great one for both fresh and older tan, and will work effectively on any stubborn areas, allowing you more precision to focus on the areas that need it.
Start by soaking your hands in a little water for a short time. This will loosen the skin and the product slightly and make it much easier to exfoliate than when it’s dry. Then, take your toothbrush or nail brush and use it to buff around the areas where the fake tan is.
Konex Non-Slip Wooden Two-Sided Hand and Nail Brush
- Best fingernail scrub brush cleaner among nail brushes for cleaning hands, toes, finger and toe nails. This Brush for nails is great for men and women.
- Classic design of this Non slip Hand Scrub and Under-nail Brush provides for cleaning even heavily soiled fingernails. This nail brush for cleaning fingernails is also effective on nuckle, elbow, heels and soles.
If you click Buy on Amazon and make a purchase, I'll earn a small commission at no additional cost to you.
Method #3: Lemon juice and a cotton pad

Lemon juice is a saviour for many things tan-related and can be used to solve many of your application problems. For this instance, we’re going to utilise it’s a mildly acidic properties to exfoliate away the skin underneath the nail and gently remove any lingering fake tan.
All you’ll need is some lemon juice, in a concentrated form, along with a cotton pad or Q tip, depending on what’s easiest for you to work with.
Soak the cotton pad or Q tip in some lemon juice and use it to rub at the skin, lifting away the fake tan. Once you’re happy, rinse your hands with some soapy water an apply some hand cream to restore the moisture.
Also read: How to Protect Acrylic Nails When Tanning? (Explained)
Method #4: White vinegar
Like lemon juice, vinegar is another universal saviour in the home, and it’s an effective remedy for removing self-tanner from beneath the fingernails. Also like lemon, it contains a mild, natural citric acid, which can be helpful for exfoliating and also has some astringent properties to restore the skin’s natural pH.
All you need to do is apply some vinegar to the area beneath your nails, making sure to cover every spot of tan, using a wipe, tissue, or cotton pad. Once everything’s in place, leave the vinegar there to soak for up to 10 minutes. After the time is up, rinse and you should be left without tan beneath your fingertips.
Method #5: Rubbing alcohol or acetone

While they shouldn’t be used too often on the skin, acetone and rubbing alcohol are both effective products for removing fake tan from beneath your nail, and they’re great for when you’re in a rush. Most regular nail polish removers will also work, too.
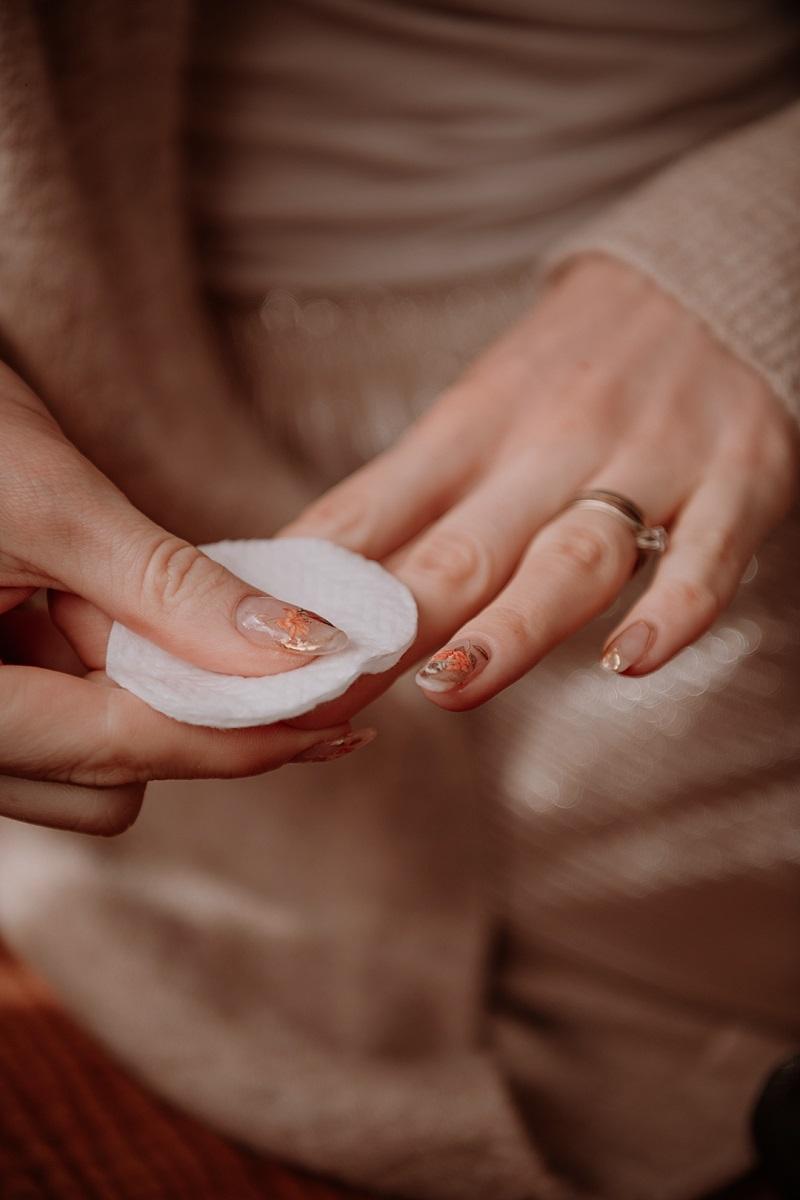
Take a cotton pad and, just as it you were removing nail polish from your nails as you normally would, swipe the pad across the underneath of your fingertips to loosen the product and remove it. Once you’ve worked on it for a short while, the tan will ease off from beneath your nails.
Just make sure that you rinse your hands after this is completed, to remove any excess product, and make sure to give your fingertips a good moisturisation using a hand cream. Rubbing alcohol and acetone can both be very stripping for your skin, so use with caution!
Super Nail Pure Acetone
If you click Buy on Amazon and make a purchase, I'll earn a small commission at no additional cost to you.
Eternal 100% Pure Acetone
- 🌟 EXPERIENCE SALON-QUALITY RESULTS: Achieve professional manicure and pedicure results at home with Eternal 100% Pure Acetone Nail Polish Remover. Say goodbye to stubborn and tough glitter, gel, acrylic or any nail polish, and leave your nails ready in record time!
- 🌟 POWER IN THE PALM OF YOUR HANDS: Our acetone nail gel remover effortlessly removes glue, shellac, dark colors, and artificial nails without drying or damaging your natural nails. They will be residue free and clean from any oily substance, and you won't be needing to visit a salon to get those mani pedi removed!
If you click Buy on Amazon and make a purchase, I'll earn a small commission at no additional cost to you.
Method #6: Baking soda
If you’re desperate for something that’s powerful and controllable so you can remove fake tan form certain areas without needing to concern the other areas of your fingertips, baking soda may be just the ingredient for you.
The process is simple, and all you’re doing with it is making a body scrub. Simply mix one part of baking soda with one part water and use this mixture as a mechanical exfoliant. Make sure to get it into all the small gaps and keep scrubbing it around until you’re completely fake-tan-free.
Method #7: Self-tanner remover

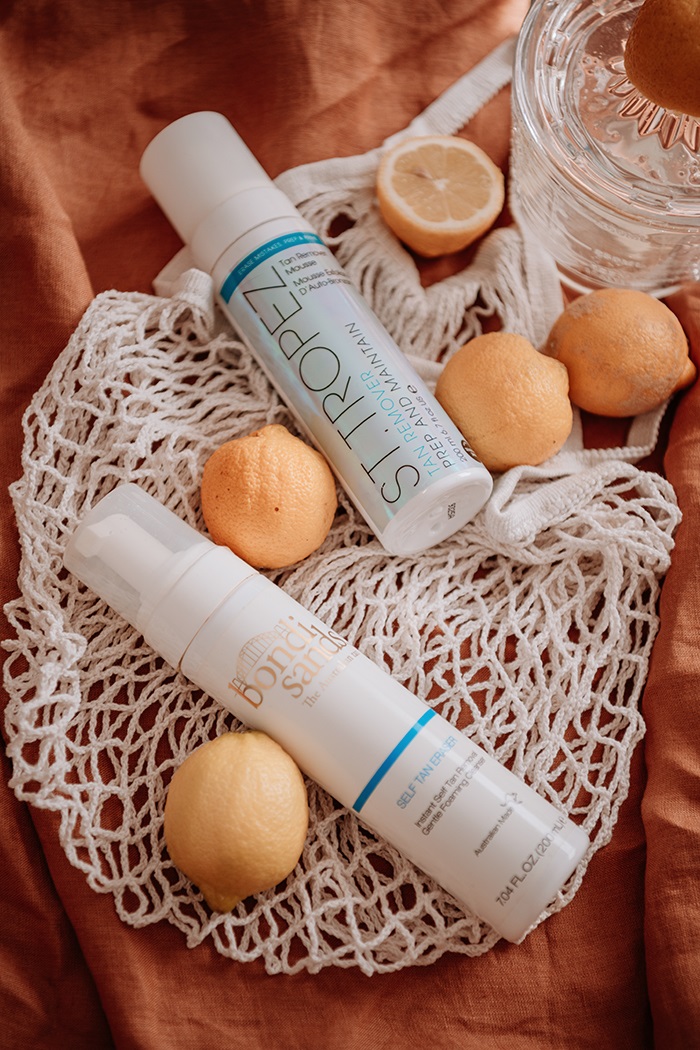
Finally, the last choice on this list can be a little more difficult to work with, but it’s still a very valid option when it comes to removing your self-tan. There are lots of these fake tan removers on the market, available for you to use, so there’s something for you out there.
Each product will list the individual instructions on the packaging, as every product is different, so follow the instructions that come with yours, focusing on the areas beneath your fingertips, and any other areas where you which to remove your self-tanner.
St. Tropez Prep & Maintain Tan Remover Mousse
- Item Package Length: 4.826cm
- Item Package Width: 5.334cm
If you click Buy on Amazon and make a purchase, I'll earn a small commission at no additional cost to you.
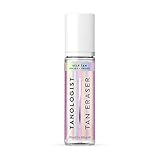
Tanologist Self Tan Eraser
- 1 BOTTLE, 2 USES | Our multi-use, hydrating foaming mousse removes traces of self tan and primes skin for fresh tanner application.
- TAN ERASER | Effectively removes remnants of self tan while moisturizing skin. Apply to dry skin at least 3 days after tan application and leave on
If you click Buy on Amazon and make a purchase, I'll earn a small commission at no additional cost to you.
Also read: Does Self-Tanner Remover Work? (Is It Worth Buying?)
Other techniques
| Method | Description |
|---|---|
| Lemon Juice | Soak a cotton pad in lemon juice and gently rub it under the nails |
| Nail Polish Remover | Use a non-acetone nail polish remover to remove the fake tan stains |
| Toothpaste | Apply a small amount of toothpaste on a toothbrush and scrub the nails |
| Baking Soda and Water | Create a paste using baking soda and water, and scrub the nails |
| Exfoliating Glove | Gently rub an exfoliating glove or mitt under the nails to remove the tan |
| Nail Brush | Use a soft-bristle nail brush and gently scrub the nails with soap and water |
| Petroleum Jelly | Apply petroleum jelly around the nails before applying fake tan to prevent staining |
Final thoughts
As you can see, you have plenty of options when it comes to removing fake tan from under your fingernails, and there’s something for everyone. Different methods are particularly suitable for different people, occasions, and circumstances, so be sure to consider these when trying out any methods. And, if one doesn’t work for you, have a go at another!


